React is currently the most popular JavaScript library for building UIs —and that trend looks set to continue for the foreseeable future. In this article, we’re going to focus on the ways we can setup React, quickly and painlessly. So we can dive right into coding!
Why React?
For the uninitiated, React allows us to build extremely fast web apps through the use of the Virtual DOM — it essentially renders only what it needs to. Providing a lightweight alternative to the traditional way of working directly with the DOM.
React also promotes a component based workflow, meaning your UI is essentially just a collection of components. This makes for a fantastic building experience! As you’ll build with modularity, your code will be in neat self-contained chunks. And it’s also very useful when working in teams, individuals can work on parts of a project, while still working collectively toward project completion.
Installation & Setup
There are a number of ways to get up and running with React. Firstly, we’ll take a peek at CodeSandbox and CodePen. If you want to instantly start playing around with code, this is a nice way to go!
We’ll then focus on spinning up a React project with Create React App — which gives you an awesome starting point for your projects, without the need to spend time setting up a build environment.
React in CodeSandbox
CodeSandBox is an online code editor which you can use to get a React project up and running in no time at all.
Go to https://codesandbox.io/s and click React.
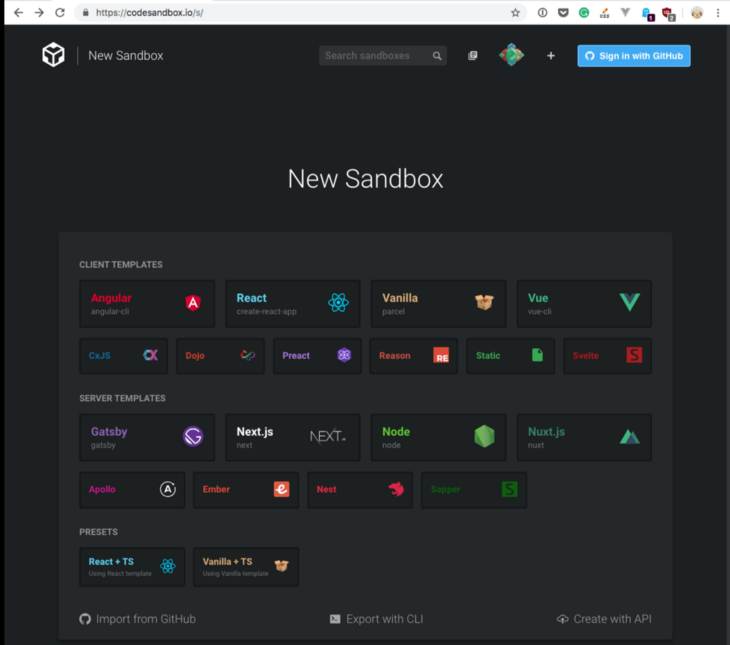
Instantly, you’ll be in a React environment that has been configured with the create-react-app structure. We’ll look at this structure further on in the article! If you want to start coding without setting up a local install, this is a great way to go! Tasks such as transpiling, bundling and dependency management are all automated, and you can easily share the link of anything you’ve been working on!
React in CodePen
An alternative to CodeSandBox is CodePen. Many developers use CodePen to showcase their work by creating “pens” for quick code demos, or “projects” for when multiple files are involved. CodeSandbox is definitely more feature rich for working with React, however CodePen is also a fine solution.
I’ve created a CodePen React starter here:
Create React App
Create React App is a tool (built by developers at Facebook) that’ll give you a massive head start when building React apps. It handles all of the configuration, so you don’t need to know any Babel or Webpack. You just run the initial install & you’ll be up in a local dev environment, in no time!
Installing with Create React App
All we need to do is open up our terminal, and run the following:
npx create-react-app <app-name>
Where <app-name> is of course, the name of your app!
We use npx as it will download and run Node.js commands without installing them. If you don’t have Node installed, you can download it here.
So go ahead and run the above command to begin the install! Give it whatever name you like..
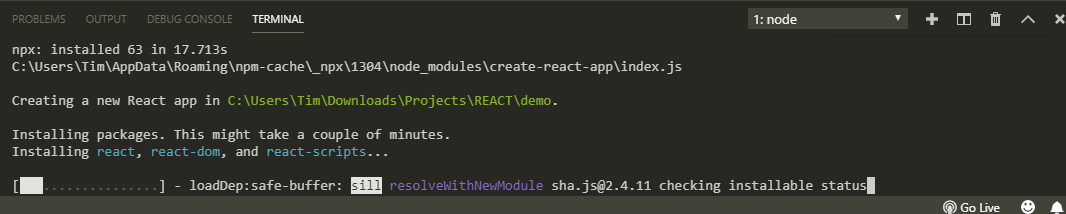
The install might take a few minutes to complete. Right now it’s installing all of the dependencies required to build your project. And it’s also generating your initial project structure.
☕️…
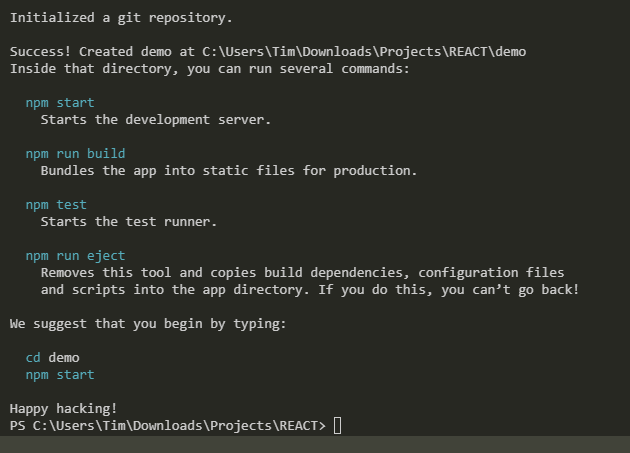
Success! Now you can open up your project folder & check out the created file structure.
Additionally, a Git repository has been created for you. And several commands have been added into the package.json file:
npm startstarts the development server, including auto page reloads for when you make editsnpm run buildbundles the app into static files for production into abuildfoldernpm teststarts the test runner using Jestnpm run ejectejects your app out of the create-react-app setup, which lets you customize your project configuration
Starting your Create React App
Now lets start up our local server! From your app folder, run:
npm start
Your app will launch in the browser on localhost:3000.
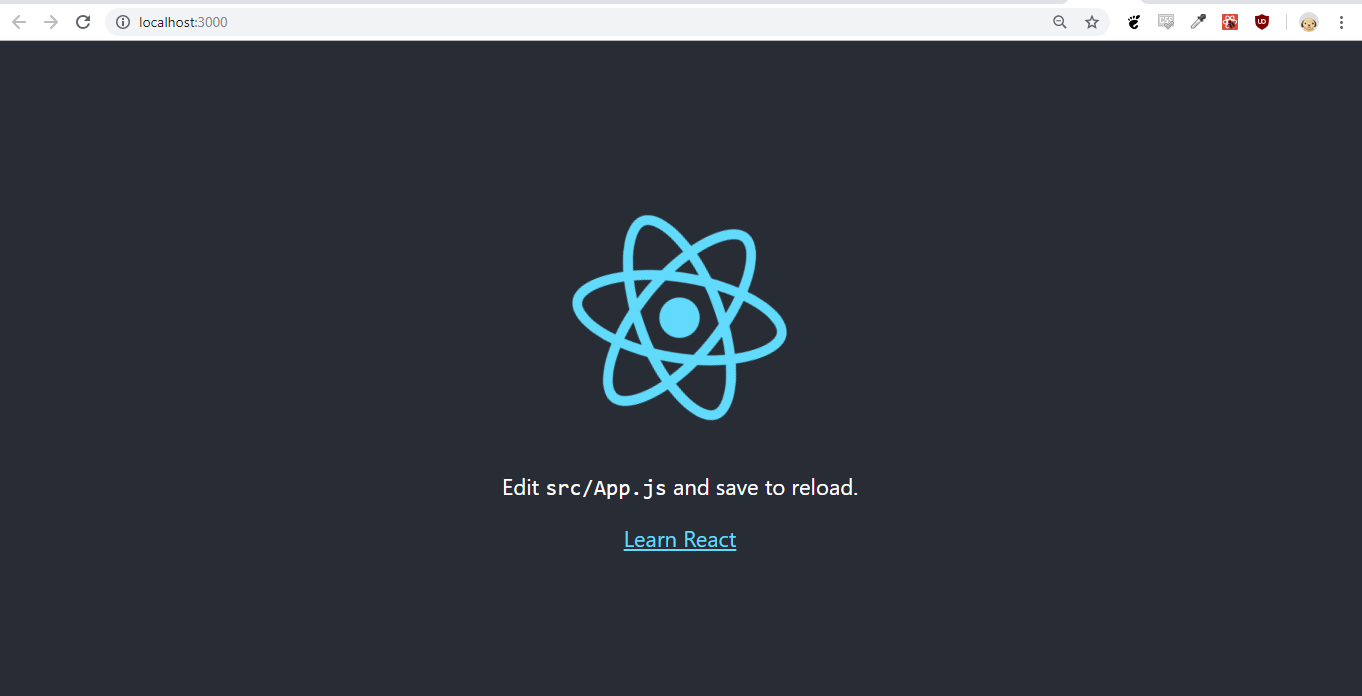
And we’re done! Each time you start a new project with create-react-app, you’ll have the latest version of React, React-DOM & React-Scripts. Lets now take a brief look at some of the features of create-react-app.
Create-React-App features
As you’ll see in the generated package.json, there are a number of commands which are available for use in your apps — lets take a look at these now..
Building for Production
When the times comes to move from development to production, you can do so by running npm run build. A build folder will generate containing all of the static files to be used on a production server.
The build command itself will transpile your React code into code that the browser understands (using Babel). It’ll also optimize your files for best performance, by bundling all of your JavaScript files into one single file, which will be minified to reduce load times.
Testing your app
Included with create-react-app is JEST, which allows you to test your code by running npm test. It’ll launch in a similar manner to npm start in that it will re-run your tests, each time you make changes.
If you haven’t yet run unit tests, you can safely file this away as a ‘nice to know’ for now. For those interested in testing components with Jest, all you need to do is either suffix your required files with .spec.js or .test.js, or place your test files inside of a __tests__ folder. Jest will run your tests for the files you specify.
Ejecting
Whenever you create an app with create-react-app, your build settings are not able to be altered, as they’ve been preconfigured in react-scripts. However, by running npm run eject, you can gain full control of your create-react-app configuration.
The config will be copied into your apps directory in a new config folder, and your scripts into a scripts folder. You can then edit your Webpack, Babel and ESLint configurations to your hearts’ content.
Note: Running eject is permanent! Only do so if you’re ready to go it alone (you know what you’re doing!).
Error messages
Another helpful feature included with create-react-app are the built-in error messages that generate to both the console and browser window.
Typos and syntax errors will throw a compilation error. And if you have a bunch of errors, you’ll get an overlay breaking down each, like so:

Wrapping up
And there we go! We’ve seen how to start playing around with React in CodeSandbox & CodePen. And we’ve looked at how to setup a local development environment with create-react-app. You don’t need to spend any time installing dependencies or configuring a build process — you can jump right into coding!
Related Posts:

A little about me..
Hey, I’m Tim! 👋
I’m a freelance business owner, web developer & author. I teach both new and experienced freelancers how to build a sustainable and successful freelancing business. Check out my Complete Guide to Freelancing if you'd like to find out more.
While you're here, you can browse through my blogs where I post freelancing tips, code tutorials, design inspiration, useful tools & resources, and much more! You can also join the newsletter, or find me on X.
Thanks for reading! 🎉